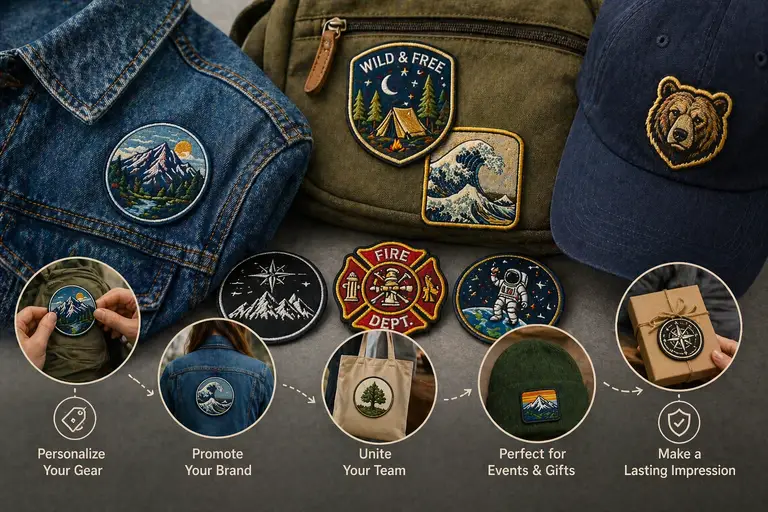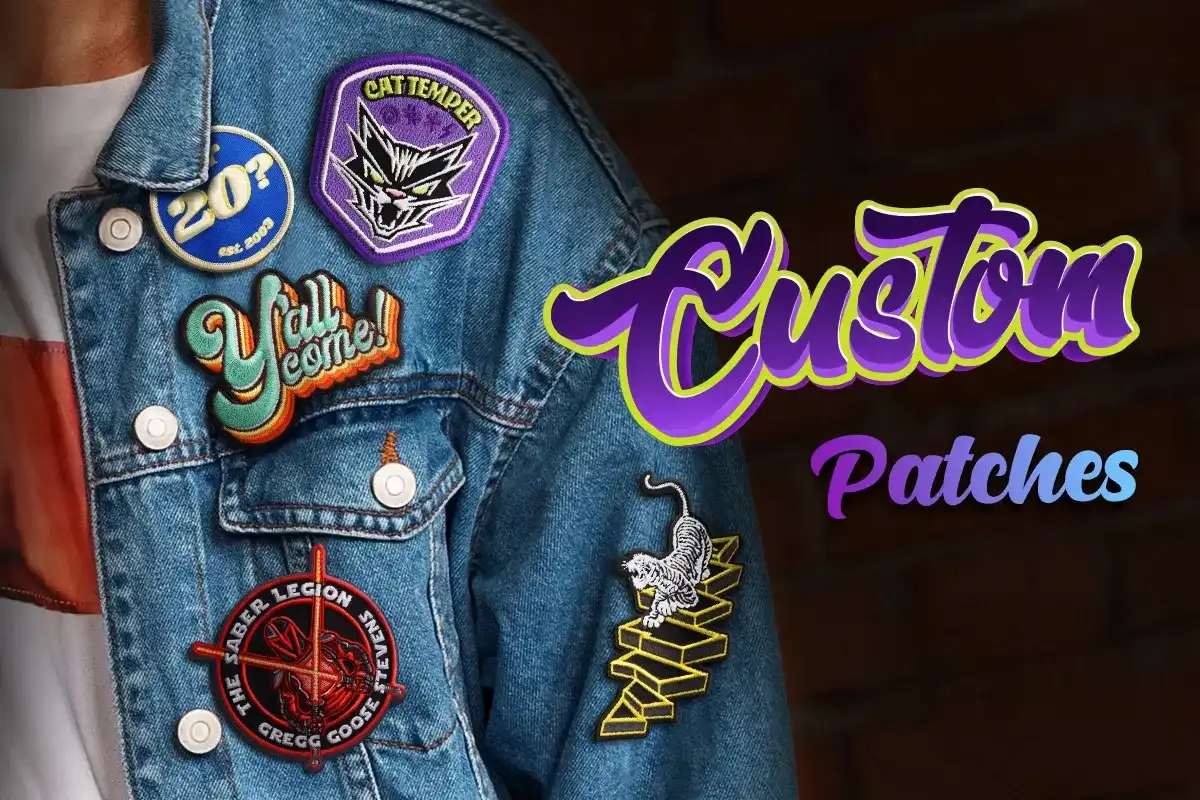
Custom patches are one of the most effective ways to showcase branding, identity, and creativity. Whether you are designing patches for a business, sports team, motorcycle club, fashion brand, or personal collection, having the right patch design is essential for achieving a professional and attractive result.
1. Choose the Right Patch Size
The size of your patch plays a major role in visibility and detail. Small patches work best for hats, sleeves, and collars, while larger patches are ideal for jackets, backpacks, and uniforms. Make sure the design elements remain clear and readable at your selected size.
2. Keep the Design Simple
A clean and simple design always looks more professional. Avoid overcrowding the patch with too many details, colors, or small text. Bold shapes and easy-to-read lettering help improve embroidery quality and overall appearance.
3. Select the Best Patch Type
Different patch styles are suitable for different purposes. Popular options include:
- Embroidered Patches
- Woven Patches
- PVC Patches
- Chenille Patches
- Leather Patches
Choosing the right patch type depends on your design complexity, texture preference, and intended use.
4. Use High-Contrast Colors
Color contrast helps make your patch stand out. Dark text on a light background or light text on a dark background improves readability and visual appeal. Using brand colors consistently also strengthens brand identity.
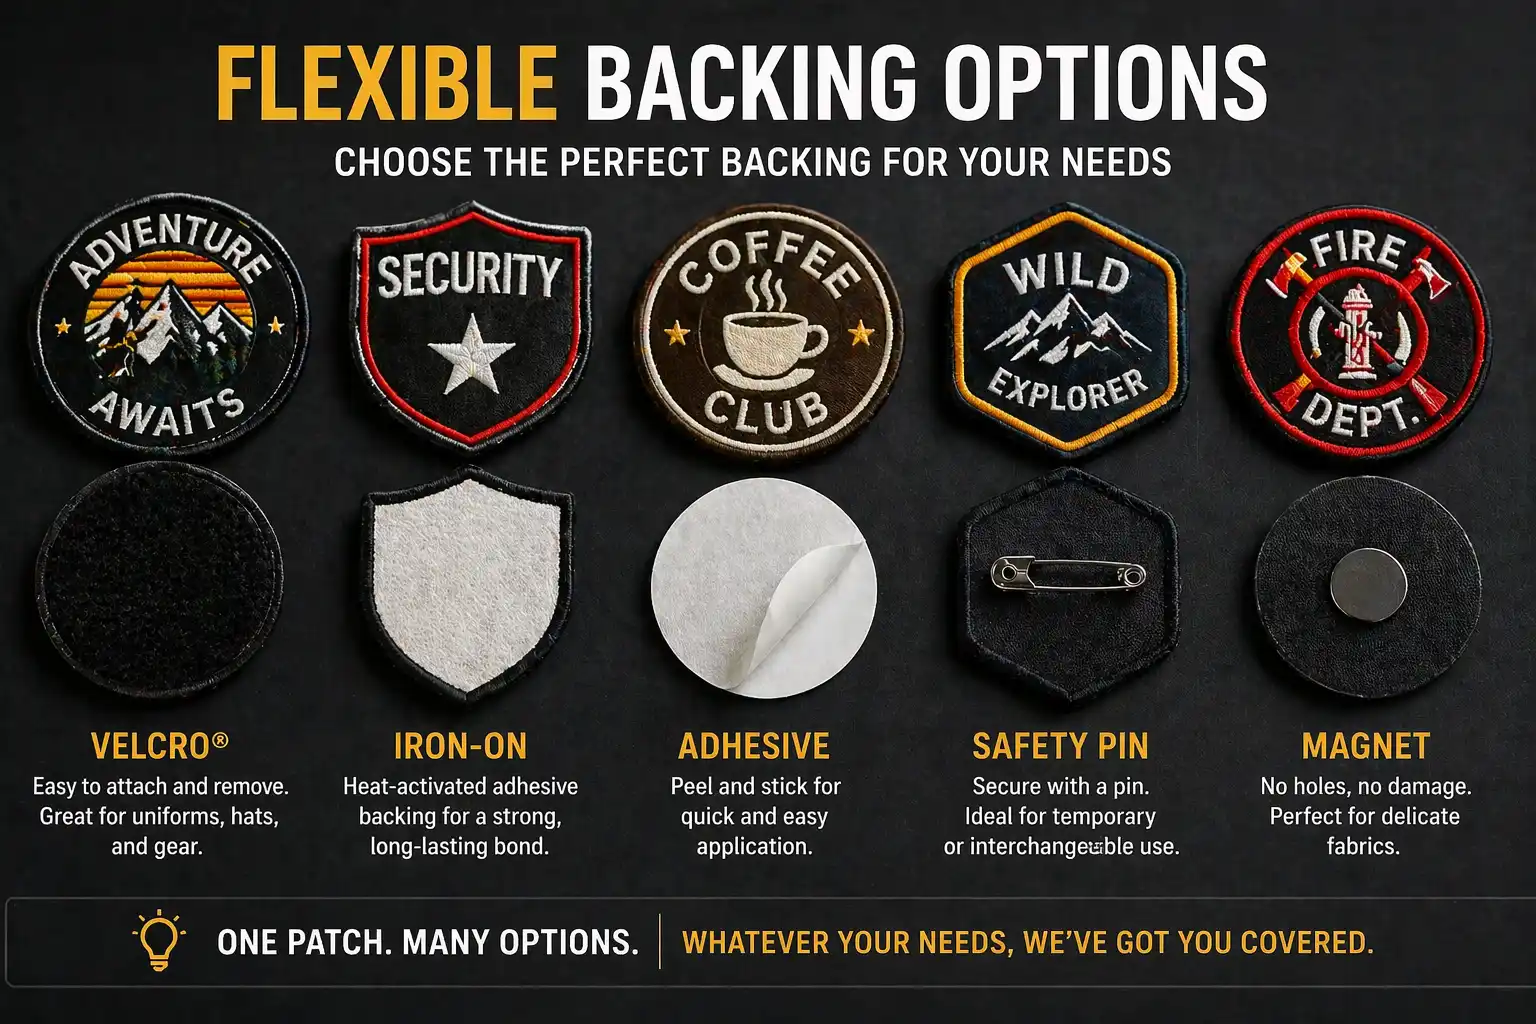
5. Pick the Right Backing Option
Patch backing determines how the patch will be attached. Common backing options include:
- Iron-On Backing
- Velcro Backing
- Sew-On Backing
- Adhesive Backing
Each option offers different levels of convenience and durability.